Showing posts with label beer. Show all posts

Saturday, June 15, 2013

Beer Can Chicken for a Father's Day #SundaySupper

Beer Can Chicken


Happy Father's Day!

This dish is one of my all-time favorites. I love beer can chickens for several reasons:

1) They are great fun for backyard barbecues in the summer. What's funnier than a chicken with a can of beer up it's backside?
2) When prepared properly, it tastes great and the meat is juicy.
3) The preparation is simple which frees you to focus on your side dishes.

For a while, it made it into my regular rotation of dinners (I prepared one once or twice per month), but I haven't prepared it as frequently in recent months because I don't have a grill. The principles are still the same. I brine the chicken beforehand to add flavor and moisture.

The Challenge

Adapt a traditionally grilled dish so it is prepared in the oven

The Source

The ingredients are a Foodie Stuntman original, but I was helped along with the method from food.com.

Ingredients

4 quarts cold water
1 cup sugar
1 cup plus 1 teaspoon kosher salt, divided
1 whole fryer chicken, (I used a 5-pound bird)
1 12-fluid ounce can cheap beer
1 teaspoon freshly ground black pepper
2 tablespoons extra virgin olive oil
1/4 teaspoon red pepper flakes
1 teaspoon each of fresh herbs

Method

1. Brine the chicken: Add 1 cup sugar and salt to water and stir until dissolved. Place the chicken in an 8 quart (or larger) container and pour the brine over the chicken. (You might need to put something on top of the chicken to keep it fully submerged.) Cover and refrigerate for 2 hours to overnight.


2. Season and cook the chicken: Remove one rack from the oven and place the other on the lowest level possible. Preheat the oven to 375° Fahrenheit. Remove the chicken from the brine and discard the brine. Pat the chicken dry with paper towels and rub the olive oil into the skin of the bird on all sides. Combine the salt, pepper and herbs into a bowl and rub underneath the skin of the breast, inside the cavity and on the skin on all sides.


Remove the top of the can of beer with a can opener and discard about one-third of the beer (or drink it). Add the red pepper flakes and a couple of leftover sprigs of herbs into the beer. Put the beer on a baking sheet and position the chicken over the beer so that the opening of the can is inserted into the cavity of the chicken so that the chicken stands upright. Tuck the wingtips behind the breasts similar to how you would truss the chicken. Place the chicken in the oven and cook until the internal temperature in the thickest part of the thigh (without touching the bone) reaches 175° Fahrenheit, approximately 75 minutes to 90 minutes. Remove the chicken from the oven and let it rest for 15 minutes to allow for carryover cooking. Carve and serve.

Successful?

I chose to keep the brine simple but you can flavor it with other ingredients if you wish. You might also wonder why I didn't specify which herbs I used to season the chicken. I had leftover herbs from the chimichurri sauce but it can vary with whatever is on hand at the time you prepare the chicken. Also, freeze the leftover carcass to make some chicken stock.

Other Sunday Supper Participants

And finally, please check out this week's other Sunday Supper contributors:

Dad’s Favorite Main Dishes:
Dad’s Favorite Appetizers and Sides:
Dad’s Favorite Desserts

Wednesday, May 22, 2013

Beer Braised Chicken Thighs

Beer Braised Chicken Thighs

I can almost see you rolling your eyes now. Another braised chicken dish? Shouldn't you be gearing up for grilling season? Aren't you bored with braising yet?

But wait! Don't leave yet...

It's no secret that I prepare a lot of skin-on bone-in chicken thighs. They're cheap; they're pretty versatile; and they're the perfect portion size for my soon-to-be kindergartner. However, lately I've been stuck in a rut so recently I went online and looked for some inspiration. I found it in a Rachael Ray recipe on fooodnetwork.com, however I was not inspired how you might expect.

The Challenge

I can see the appeal of Ms. Ray. Her dishes have approachable preparation methods for the home cook and she has the charisma to be relatable to a wide audience, but I believe that her lack of formal culinary training was exposed in this dish. I, too, have no formal training but I do have a lot of experience braising chicken and, hopefully, have applied it to produce a technically superior (which should result in a tastier) dish. I kept the ingredient amounts the same so instead of reviewing the method, please refer to the above link to note the changes I've made below.

Updates

1. I omitted scallions and hot sauce. It's a personal preference but I'm not a huge fan of spicy foods, but I enjoy milder spices to balance other sweet, salty and/or savory flavors in the dish. I also decided to garnish my dish differently. I also substituted a red bell pepper for a green one because I had a red one in my refrigerator.

2. One of the most creative ways I've seen to use bacon I profiled when I first prepared the coq au vin dish. Namely, rendering bacon pieces, removing them, then using the bacon grease to sauté the chicken. By doing this, the flavors of the bacon will infuse into the chicken. Chicken thighs also have a considerable amount of fat underneath their skin that can be rendered when seared which will assist with the mirepoix. Speaking of...


3. I used a full mirepoix, adding carrots to the onion, bell pepper and celery. I also seasoned the mirepoix with kosher salt and instead of sweating it, browned it to create some fond. I also decided to use a thyme bundle instead of chopping it. Lastly, I waited to add the garlic to an already browned mirepoix because burnt garlic has a bitter taste.


4. The instructions are inadequate, in that Ms. Ray doesn't specify how long to simmer the chicken but based upon past experience, I recommend 30 minutes over low to medium-low heat to ensure the highs are fully cooked through. I also omitted the flour because I've found thst reducing the braising fluid is more effective way to thicken the sauce because it concentrates the flavors.


Successful?

I believe so, but if you don't believe me, Mrs. Stuntman noted as she was eating, "I don't know what you did, but this dish tastes good!" However I have one final criticism of this dish because I feel it was improperly named. Yes, beer was in the braising fluid but the strongest flavor in the sauce was the tomatoes.

Sunday, July 15, 2012

Food Unchained: Vinegar Brined Baby Back Ribs


Vinegar Brined Baby Back Ribs


Somebody check the temperature in hell...

I'm a little embarrased by all this good fortune but I was chosen the winner of a giveaway sponsored by Kaitlin of I Can Cook That. Thank you very much!

Now onto the food...

When my wife and I were first married, we would eat at chain restaurants about once or twice a month. Often, we would end up at Chili's Grill & Bar.

Fast forward to late 2009 when my wife took me there for my birthday. I hadn't started a food blog yet but I had found a baby back ribs recipe by Dave Lieberman (using store bought barbecue sauce) I really liked after my brother-in-law demonstrated his version he brought with him from the Philippines and I wanted to find something that originated from Southern barbecue. I figured baby back ribs was a signature dish, so it would be a pretty safe choice.

I was wrong.

The ribs I made at home were so much better by comparison and cheaper too. In short, I felt ripped off. In fact, my first recipe for Food By DB was the recipe above, which served as one motivation to start blogging in the first place. About a year ago, I updated my recipe using Chef Michael Chiarello's recipe using his barbecue sauce. The best way to prepare ribs is to smoke them but this is apartment living folks, and I am not able to due to space constraints. Also, these two recipes used a similar cooking method and needed to mix things up a bit.

The Challenge

Not only recreate, but improve a dish served at a restaurant chain, in this case Chili's baby back ribs with original barbecue sauce.

The Source

Adapted from this Guy Fieri recipe for several reasons:

1. I've already reviewed the benefits of a brine with my chicken & rice recipe I published a couple of months ago, but I've never brined pork ribs. If I can't smoke my ribs, can I enhance flavor with a brine? Going in, I was a little skeptical that a short time in the brine would be effective.

2. This recipe is different than the cooking methods I've used in the past but it is very similar to rib recipes used by Bobby Flay I've tried in the past.

Ingredients

FOR THE BARBECUE SAUCE:

1 tablespoon olive oil
1/2 cup yellow onion
1 tablespoon minced serrano pepper Anaheim pepper, minced (I'm not much of a spice fan.)
1 tablespoon minced garlic
1 tablespoon minced ginger teaspoon, grated ginger
2 tablespoons apple cider vinegar
2 cups frozen raspberries
1/3 cup seedless raspberry jam preserves
3 tablespoons molasses maple syrup

FOR THE BRINE AND RIBS:

1 cup apple cider vinegar
4 cups water
2 tablespoons kosher salt
2 tablespoons freshly cracked black peppercorns
10 garlic cloves, smashed
3 pounds baby back ribs, silver skin removed, racks cut into 3 to 4 rib sections
6 fluid ounces beer
1 yellow onion, peeled and quartered

Method

Prepare your barbecue sauce:

1. In a medium saucepan over medium-high heat, add the olive oil. When the oil is hot, add the onion and Anaheim and cook until the onion is translucent. Stir in the garlic and the ginger and cook for 1 to 2 minutes longer, being cautious not to burn.


2. Deglaze the pan with the vinegar and then add the frozen raspberries, preserves and maple. Stir to combine, then lower heat and simmer for 15 minutes.


3. Puree with an immersion blender, then strain through a sieve into a bowl or jar, to remove the seeds, pushing the sauce through as much as possible. Can be stored, covered, in the refrigerator for up to a week.

Raspberries Pureed
Straining the Puree

Cook the ribs:

4. Preheat a grill to high and an oven to 400°Fahrenheit.

5. In a large resealable bag or nonreactive container; combine the vinegar, water, 1 tablespoon of the salt and 1 tablespoon of the pepper, 4 of the garlic cloves and the ribs. Let sit at room temperature for 15 minutes only.


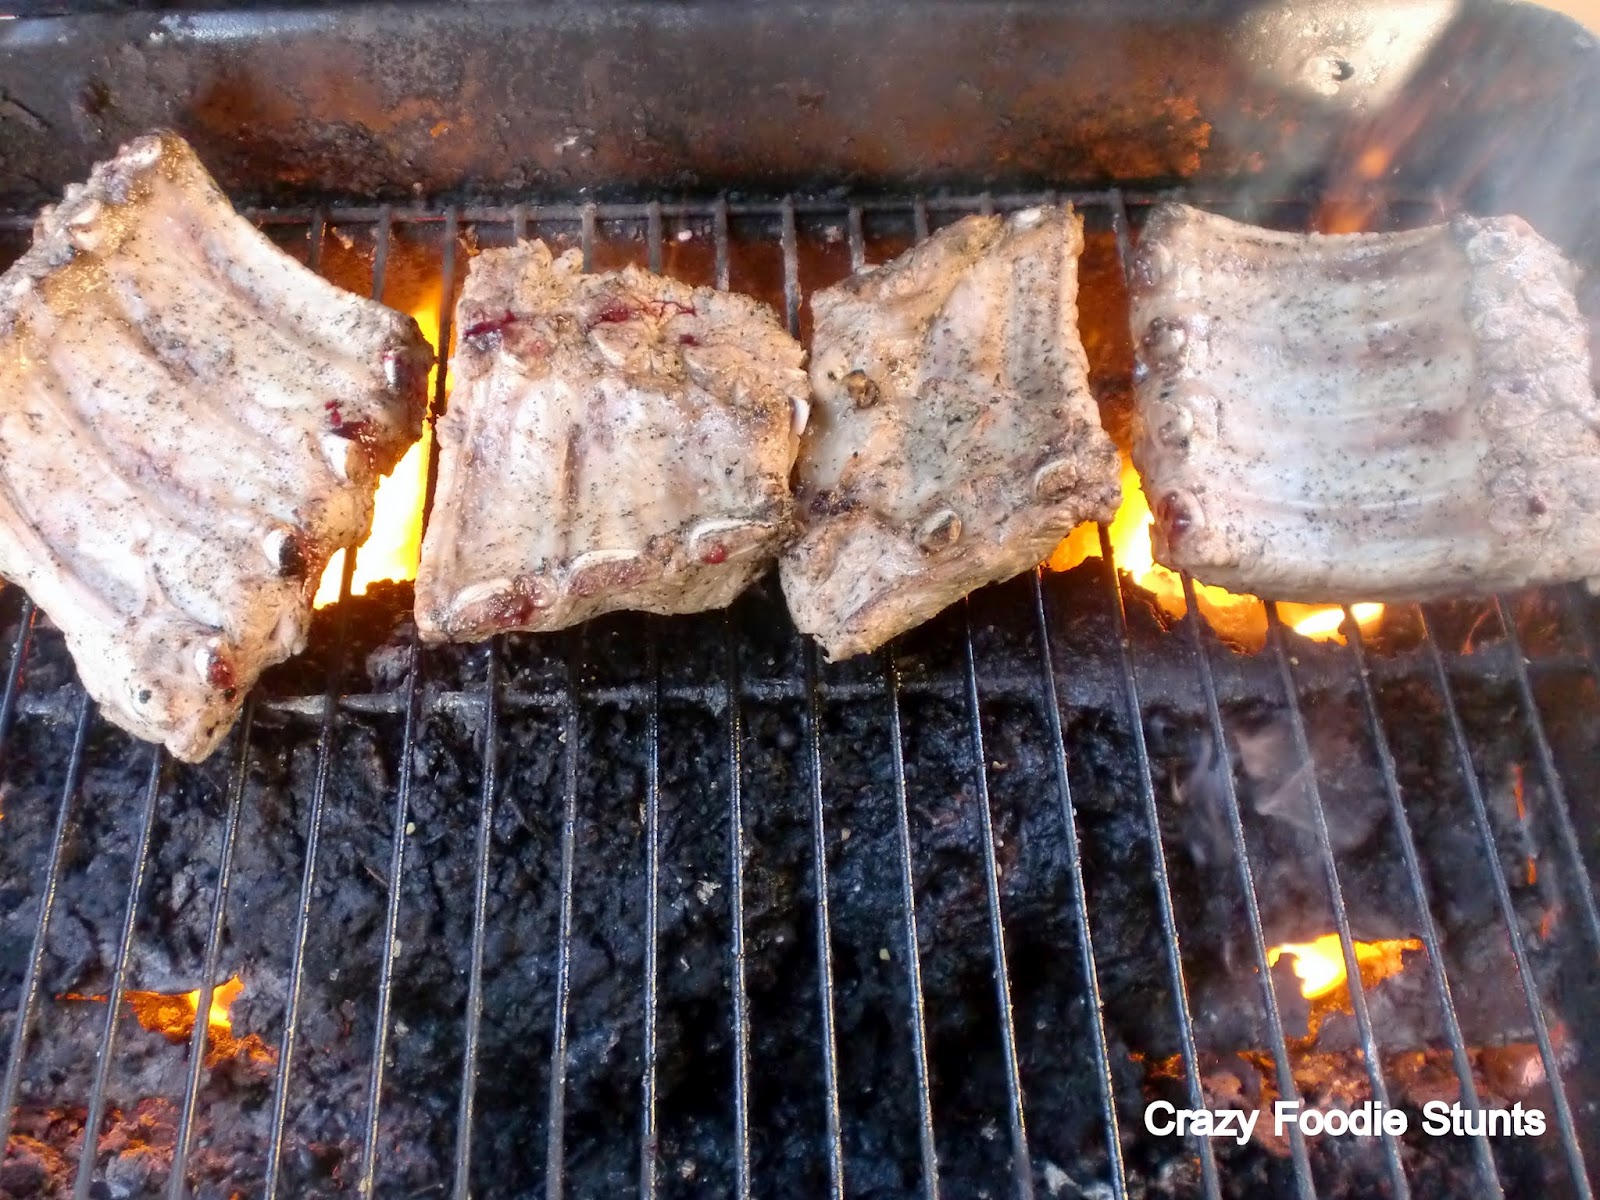
6. Remove the ribs from the brine and season both sides with the remaining salt and pepper. Sear the ribs on an indoor grill or outdoor if available, until lightly browned.


7. In a large roasting pan, fitted with a rack, arrange the ribs on the rack and pour in the beer. Add the onion and remaining garlic cloves. Cover the pan tightly with aluminum foil and put into the hot oven. Reduce the heat to 300 and roast for 1 1/2 hours. Remove the foil and baste the ribs with the BBQ sauce. Roast for 7 minutes, then turn the ribs over, baste again and roast for another 7 minutes. Remove the ribs from the oven to a cutting board and slice between the ribs. Arrange on a serving platter and serve.

About to Go into the Oven
After 90 Minutes

Successful?

The raspberry sauce was a little too sweet and I liked Chef Chiarello's better but it still was an improvement over Chili's. The brine also was effective in keeping the ribs succulent.


And finally, I'll leave you with...


(Think they were singing about my ribs?)