Monday, June 25, 2012

Back to Basics: Chicken Stock

Chicken Stock


This post is unusual in that it's not a finished dish, it's an ingredient.

It occurred to me the other day that one Crazy Foodie Stunts quality I failed to note in my braised chicken recipe I profiled this past April was the use of homemade chicken stock. It wasn't a conscious decision because making my own stock has become so common, I completely forgot about it. The last time I bought chicken stock at the store was better than two years ago yet I use it all the time.

In speaking to other food blogger friends in the past couple of months, I've discovered that many are intimidated by chicken stock, as I've seen it on several "foodie bucket lists" but it's very easy to make. All it takes is time.

Chicken stock is comprised of standard mirepoix ingredients simmered with chicken bones over the course of several hours. It serves as the base for many soups and sauces, so it is very versatile. When they're on sale, I buy whole chickens and cook them and then save the carcass and freeze it. Now that the summer grilling season is upon us, might I suggest a beer can chicken? I like them for backyard barbecues because there's lots of jokes to be had with a can of beer up the chicken's backside or during cooler weather, roasting is always a possibility. Or you can break the chicken down into usable parts before cooking. This is a great way to use parts of the chicken many home cooks would discard.

I used the last of my remaining chicken stock for the risotto I published earlier, so the timing was right to demonstrate it here.

The Challenge

Making an ingredient that is often taken for granted and can easily be bought at any local supermarket at home.

The Source

I use a recipe from allrecipes.com as a starting point but have adapted it over time. Ingredients in italics are either substitutions or additions

Ingredients

2 1/2 pounds chicken bones 1 to 2 leftover chicken carcasses (with giblets, if available)
1/4 cup olive oil
2 red onions, coarsely sliced
1 stalk celery cut into 1-inch lengths
2 carrots, diced 4 baby carrots
8 cups water, or as needed
1 head garlic, halved
1/2 teaspoon dried thyme 2-3 sprigs fresh thyme
1/2 teaspoon dried parsley 1 bunch fresh parsley stems*
1/2 teaspoon dried basil 1-2 fresh basil leaves
4 teaspoons kosher salt**
1 tablespoon cracked black peppercorns
1 bay leaf

Method

1. Preheat the oven to 450 degrees F (220 degrees C). Arrange the chicken bones on a baking sheet. Roast for about 45 minutes in the preheated oven, or until well browned.***

2. Heat the olive oil in a stock pot over medium heat. Add the onions, celery and carrots; cook and stir until browned. If they scorch, just add a bit of water and scrape up all the bits.


3. Add the roasted chicken bones to the pot, and fill with enough water to cover the bones by 2 inches. Bring to a boil, and add the garlic, thyme, parsley, basil, salt, and pepper. Reduce heat to low, and simmer uncovered for 2 hours or more. Add more water if needed.


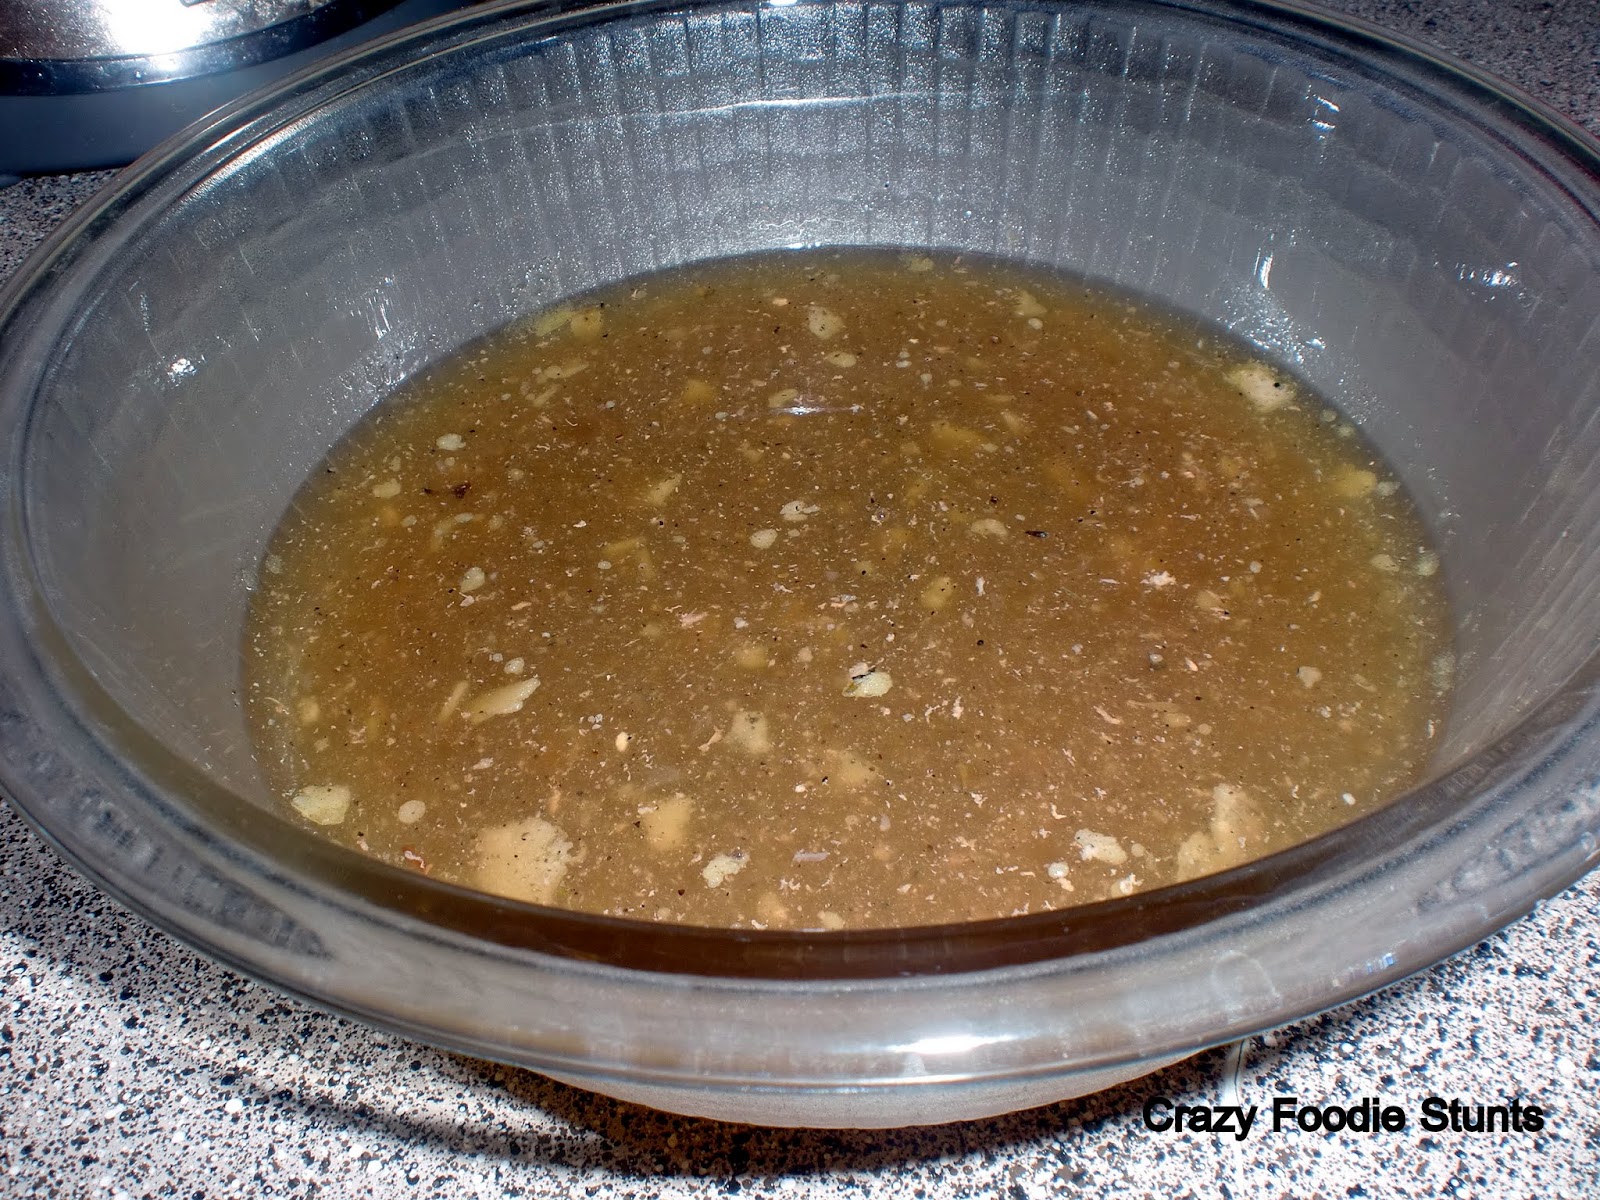
4. Strain out all of the solids from the broth, drain off the fat, and refrigerate overnight. You can also remove the fat after it has chilled. The stock will be thick. Use full strength for soups and gravies, or dilute with water for a milder flavor.

Skimming the coagulated fat from the top after refrigeration

NOTES:

* I picked this up from page 22 of Michael Chiarello's Casual Cooking by Michael Chiarello with Janet Fletcher. Chef Chiarello advises using only the stems, not the leaves because the leaves can leave a green hue to your stock.

** I usually brine my chickens before I cook them, so the salt from the chicken is absorbed by the water. I recommend using very little salt regardless, as this isn't a finished dish and more salt can be added to each dish prepared with the stock.

***I find this step unnecessary if using leftover cooked chickens.

Successful?

Yes and no. I was successful in making my own chicken stock however, I wanted to document the process with a little more detail, but I misplaced my camera for about 18 hours in the middle of simmering the stock.

Ultimately, final judgement on this batch will be made when dishes are prepared using it.

Now I'm off to the supermarket to buy more chickens because I don't have any more carcasses in reserve!

Wednesday, June 20, 2012

Caramelized Onion Risotto with Bacon

Caramelized Onion Risotto with Bacon


Have I backed myself into a corner?

The morning I prepared this dish, I noted on my facebook timeline that I was trying to adapt this risotto to the standards appropriate for this publication. My foodie friends inquired: Heidi of Young Grasshopper asked, how could it NOT be blog worthy? Willow of Will Cook for Friends suggested perhaps you could fancy it up by serving it with something else more blog-worthy? I've actually profiled three other risottos in the past and am pretty familiar with the concept, so I needed to find a way to try something new.

I shouldn't be so hard on myself. I've seen seasoned chefs fail at this dish on popular TV shows. (Jyll of the seventh season of The Next Food Network Star, Tre on season 8 of Top Chef, in addition to countless victims...uh, I mean, contestants on Hell's Kitchen come to mind off the top of my head.)

I've been craving risotto over the past few weeks and my wife is trying to get her own food blog started and noted she wanted to learn how, so she bought some arborio rice over this past weekend.

As I was looking through risotto possibilities waiting for a revelation, I noticed a lot of risottos with bacon. This recipe caught my eye because it combined a one of my wife's favorite ingredients of one of my first success as a food blogger: a Barbecued Tri-Tip with Caramelized Red Onions with bacon.

The Challenge

Successfully fuse American flavors into an Italian dish while using a slightly altered risotto method.

The Source

A risotto normally starts out by sweating onions or shallots, adding the rice to toast, deglazing with white wine, before adding the stock and finishing with parmesan and butter. This recipe from Food & Wine Magazine alters this process slightly.

Ingredients

1/2 pound thickly sliced meaty bacon (approximately 8 slices)
1/4 cup extra-virgin olive oil, divided
2 large onions, halved lengthwise and thinly sliced crosswise
2 quarts chicken stock or low-sodium broth
2 garlic cloves, minced
2 cups arborio rice
1 teaspoon coarsely chopped thyme
1/2 cup freshly grated Parmesan cheese, plus more for serving
kosher salt and freshly ground pepper

Method

1. In a large skillet, cook the bacon over moderate heat until crisp, about 8 minutes. Transfer to paper towels to drain, then crumble.


2. In a large saucepan, heat 3 tablespoons of the olive oil. Add the onions and cook over moderately high heat until lightly browned, about 4 minutes. Reduce the heat to low and cook, stirring occasionally, until the onions are very soft and browned, about 20 minutes. Transfer the onions to a plate. Rinse out the saucepan.


3. Bring the stock to a boil in a medium saucepan. Cover and keep hot over low heat. Heat the remaining 1 tablespoon of olive oil in the large saucepan. Add the garlic and cook over moderate heat until fragrant, about 1 minute. Add the rice and cook, stirring, for 2 minutes. Add enough hot stock to cover the rice, about 1 1/2 cups, and stir constantly over moderate heat until the stock has been absorbed. Continue adding stock, about 1 1/2 cups at a time, and cook, stirring, until it has been completely absorbed before adding more. The rice is done when the grains are just tender and the sauce is creamy, about 20 minutes.


4. Remove the pan from the heat and stir in the onions, bacon, thyme and 1/2 cup of Parmesan. Season with salt and pepper. Spoon the risotto into bowls and serve with additional Parmesan.

Successful?

No, I haven't backed myself into a corner. My wife enjoyed the flavors of the dish because there was nothing left on her plate, however the risotto was a little too stiff for my taste but strangely, still creamy.

Friday, June 15, 2012

Chocolate Espresso Gelato


Chocolate Espresso Gelato


No, I haven't forgotten about you. With such a busy month of May (at least, for me) I recently just realized that I hadn't published here in the last couple of weeks. I actually cooked last week with the intention of posting the recipe here but the result was not well and ultimately it's not something I'd recommend.

Meanwhile, Siri Pinter of SIRIously Delicious recently published a Homemade Chocolate Chip Ice Cream recipe where she linked an instructional blog post by David Lebovitz. Also as I've been reading the blogosphere lately, I've seen a lot of ice cream recipes now that summer is upon us and I wanted to contribute however, anyone can make a custard and throw it into an ice cream machine, but churning manually? Like I've stated before, quick and easy is not my style. My readers ought to know me by now: I love a challenge.

The Challenge

Prepare homemade gelato without an ice cream machine.

The Source

The gelato base is taken from page 207 of Michael Chiarello's Casual Cooking by Michael Chiarello with Janet Fletcher. The freezing and churning process is taken from David Lebovitz from the link above.

Ingredients

1 1/2 cups milk
1 1/2 cups heavy cream
3/4 cup white sugar
1 vanilla bean
2 teaspoons ground espresso roast coffee
6 egg yolks
1/2 cup (approximately 2 1/4 ounces) bittersweet chocolate, finely chopped

Method

1. Combine the milk, cream, sugar, vanilla bean, and espresso in a saucepan. Bring to a simmer over moderately low heat, stirring to dissolve the sugar.


2. Meanwhile, in a small bowl, whisk the egg yolks until well blended. When the milk mixture simmers, gradually whisk about 1/2 cup of the hot milk mixture into the eggs to warm them, then pour the warmed eggs into the saucepan, stirring constantly. Cook over moderately low heat, stirring with a wooden spoon, until the mixture visibly thickens and reaches 175⁰ Fahrenheit on an instant read thermometer. Do not let the mixture boil or it will curdle.


3. Immediately remove from the heat and strain the custard through a fine sieve into a bowl. Add the chocolate, whisking until it melts. Then chill it over an ice bath.


(It is at this point where I start using Chef Lebovitz's instructions. If you have an ice cream machine, use it here according to the manufacturers instructions.)

4. Put a deep baking dish, or bowl made of plastic, stainless steel or something durable in the freezer, and pour your custard mixture into it.


5. After forty-five minutes, open the door and check it. As it starts to freeze near the edges, remove it from the freezer and stir it vigorously with a spatula or whisk. Really beat it up and break up any frozen sections. Return to freezer.


6. Continue to check the mixture every 30 minutes, stirring vigorously as it’s freezing. If you have one, you can use a hand-held mixer for best results, or use an immersion blender. You can also use just a spatula or a sturdy whisk along with some modest physical effort.

7. Keep checking periodically and stirring while it freezes (by hand or with the electric mixer) until the ice cream is frozen. It will likely take 2 to 3 hours to be ready.

Successful?

After the first 30 minutes, I noticed the custard had barely frozen so I checked on it every 45 minutes thereafter. It took a little longer than advertised (about 4 hours), but my freezer is near my stovetop and I had to cook dinner while the custard sat in it. It was a little warm in the home too.

Ultimately, yes. Not only was I successful in churning the gelato, but the espresso gave the dessert depths of flavor and I highly encourage you to try this recipe.