

 |
| Chocolate Mousse |

As I've networked within the community, I have discovered that women who write food blogs far outnumber men who do which makes me part of a minority. I would also be willing to bet that a woman is reading these very words. Now, I love each of my readers equally but ladies, this post isn't for you to read. I will now ask you to bring your significant others into the room to read between the two lines of asterisks.
***************************************
Gentlemen, allow me to quickly introduce myself. I am DB and I have assumed the alias Foodie Stuntman. As you're aware, Valentine's Day was about a week ago. I must admit, I'm not a big fan of it as I discussed previously. So, as opposed to displaying your affection on a holiday manufactured by Hallmark Cards where we're obligated to do so, surprise her when she doesn't expect it. She'll appreciate it more. (And no, don't prepare this dessert because you came home with a door ding on her passenger side rear fender or spent too much money hanging out with the boys at the sports bar the Saturday prior.) To that end, I found this dessert online that's easy to prepare.
Now, this site is called Crazy Foodie Stunts and I always challenge myself, so...
The Challenge
Get us guys in the kitchen to make something for our significant others.
The Source
Adapted from a recipe I found on iVillage
Equipment Needed
(I've attached sample pictures of some of the items.)
1 medium saucepan
1 baking spatula
1 heatproof (stainless steel or Pyrex) bowl medium size
3 additional large preparation bowls
1 hand mixer or stand mixer if you're lucky to have one.
1 whisk
4 cocktail, wine or martini glasses
Ingredients
3 1/2 ounces bittersweet chocolate, broken into pieces
1 tablespoon whole milk
2 large eggs, separated (You'll need 2 of the 3 additional bowls for this)
2 tablespoons sugar
1/3 cup heavy cream
whip cream, for serving
Chocolate shavings or chips, for garnish
Method
1. Fill the saucepan halfway with water. Place the heatproof bowl on top of the saucepan. If the water touches the bottom of the bowl, pour a little bit of the water out enough so that the water does not touch it. Bring the water to a simmer over medium heat. Add the chocolate and milk in the heatproof bowl, then place the bowl back over the simmering water. Stir with the baking spatula until melted, then remove the bowl from heat and let it cool off for a minute or two. (By the way, if you want to sound sophisticated, this is called a double boiler set up. Yes, you could melt the chocolate in the nuclear oven, but I've never found radiation very tasty.)

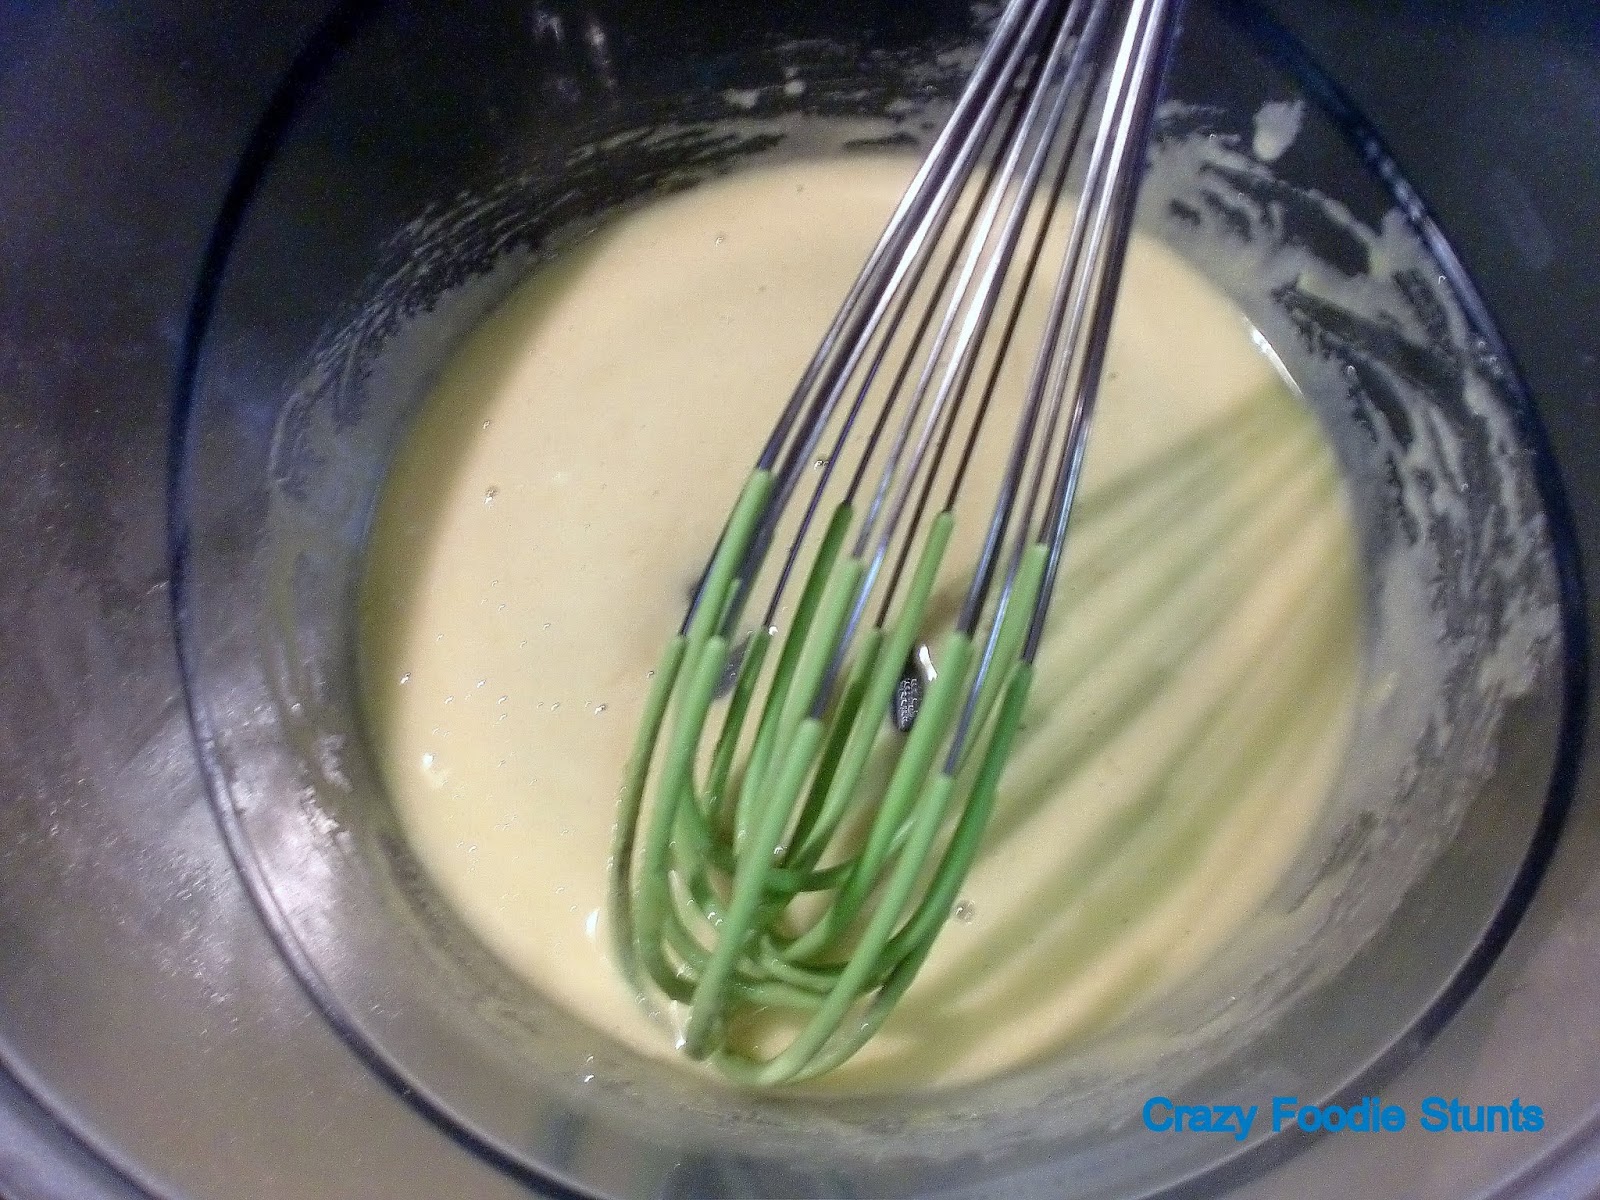
2. While the chocolate is cooling, add the sugar to the bowl with the egg yolks. Use the whisk to stir until thick and creamy. Then add the chocolate from the heatproof bowl and stir everything using the whisk until just combined.
3. Add the heavy cream to the remaining preparation bowl. Using your mixer, whip the cream until stiff peaks form. (Only the first three minutes of the video I've provided are relevant.) Add the chocolate mixture to the cream and stir until just combined.

4. Clean the beaters from your mixer and re-attach. Whip the egg whites until stiff peaks form using the same procedure in step 3. Stir in some of the egg whites then fold in the rest of the egg whites. Spoon a portion of the mousse into each of your serving glasses, cover with either plastic wrap or aluminum foil and place in the fridge for at least 2 hours. While you're waiting for it to set, be sure to clean up the kitchen and wash the dishes before grabbing a beer and watching the game. When you're ready to serve, top each glass with whip cream and garnish it with chocolate shavings or chips.

5. Enjoy the appreciation from your significant other.
***************************************
So ladies, you've seen the picture above. However if your guy presents this dessert on you suddenly, please accept the gift at face value and appreciate it as a token of affection. No, he isn't softening you for some bad news later on.
In other news, Mrs. Stuntman and I did celebrate Valentine's Day but we decided to do so on Sunday the 16th at Frances in San Francisco. You might recognize it because it was awarded one Michelin star in 2011, 2012 and 2013. The dishes we ordered were:
 |
| Roasted Turnip Empanada-Sultana Raisin, Salsa Verde |
 |
| Tuscan Kale & Butter Bean Soup-Farro, Crostini, Roasted Chicken and Garlic Broth |
 |
| Winter Vegetable Casserole-Hen of the Wood Mushrooms, Buttermilk Biscuits |
 |
| Sonoma Duck Breast-Pumpkin Seed Dukkah, Roasted Winter Squash, Blood Orange |
 |
| Crisp Bintje Potatoes & Charred Broccolini, Taleggio di Peghera |


