Showing posts with label tomato. Show all posts

Monday, May 11, 2015

Spaghetti with Sausage and Peppers plus Updates

Spaghetti with Sausage and Peppers


Hello? Are you still there? I haven't published a dish in almost a month but I have still been busy working. My anniversary was a couple of weeks ago but Mrs. Stuntman and I decided to forgo a dinner at a nice restaurant in exchange for the opportunity to upgrade our cell phones. While Mrs. Stuntman got a newer version of an iPhone, I made the leap from a $12 flip phone to a Samsung Galaxy S5. This is relevant here because, in addition to opening an instagram account for this website, the pictures of this dish were taken with it primarily because it has a 16-megapixel camera which is better than the 12-megapixel quality of my point-and-shoot camera I had been using.

I also attended a photography seminar which was held through my local parks and recreation department which was moderated by Duke Conrad who's an award-winning nature photographer. I encourage you to check out his portfolios at 500px.com and flickr.

The third update is that I have re-written my About Me page. In it, I summarize a new direction here from execution-focused challenges to flavor profile-focused challenges. As such, I will be announcing some format changes. I'll start with the inspiration behind the dish, then the dish details (which will include the recipe) and finish with some final thoughts. This dish will be my first under the new format.

Inspiration Behind the Dish

A contributing factor in why I went so long without publishing a here is because of Mrs. Stuntman's contributions to the dinner table as of late. She has been purchasing a lot of prepared food. Most of it is the type of food that is already fully-cooked and the only thing needed is to reheat and serve. Don't get me wrong, there isn't anything wrong with these items but it's just not appropriate to publish here at face value. So, while I was rummaging around the refrigerator on a recent evening, it occurred to me that the smoked mozzarella with artichoke and garlic chicken sausages could be used in a classic Italian pairing of sausage and peppers.

Dish Details

I adapted this epicurious recipe to accomodate a few ingredient substitutions in addition to the sausages noted above. First, I substituted spaghetti for the bucatini simply because I didn't want to pay the additional dollar for the bucatini. Bucatini is the same shape as spaghetti with the exception of a hole running through the pasta so it resembles a straw or a hose. Second, I puréed my tomatoes instead of crushing them by hand. I also substituted fresh oregano leaves for the dried and used regular parmesan instead of the Grana Padano. This dish would easily fit onto any casual Italian menu.

Ingredients

1 tablespoon extra-virgin olive oil
8 ounces smoked mozzarella with artichoke and garlic chicken sausages (approximately 3 links), casings removed
1 large onion, chopped
1 medium red bell pepper, julienned
1 medium yellow bell pepper, julienned
1 tablespoon garlic, minced
1/4 cup dry white wine
1 28-ounce can San Marzano tomatoes, puréed
1 tablespoon fresh oregano leaves, chopped
Kosher salt
Red pepper flakes
1 pound spaghetti
1/2 cup fresh Italian parsley leaves, chopped
1/2 cup freshly grated Parmesan

Method

1. In a large pot, bring to a boil at least 4 quarts of salted water to a boil over high heat. Separately in a large skillet, heat the olive oil over medium-high heat. Once the oil starts to smoke, add the sausage and break it up into bite size pieces until well browned, approximately 4 minutes. To the sausage, add the onion and peppers to sweat and adjusting the heat as needed, approximately 8 minutes.


2. Add in the garlic and stir until it becomes redolent, one or two minutes. Deglaze with the white wine, scraping up any brown bits and reducing for minute or two. Add in the tomato purée, 2 cups of the pasta water, then season with salt, red pepper and oregano. Simmer for approximately 20 minutes until the sauce reduces and becomes flavorful. Approximately 10 minutes in, drop the spaghetti into the boiling water and cook for two or three minutes less than the box instructions direct. Once the pasta is al dente, reserve 1 cup of the water, then drain and add to the sauce. Toss the pasta with the sauce and the parsley. Serve in warmed bowls garnished with Parmesan.


Final Thoughts

While not my most creative effort, it still was well balanced and perfect for a quick weeknight meal.

Tuesday, January 21, 2014

Arroz con Pollo

Arroz con Pollo


The fact that bone-in skin-on chicken thighs appeal to me is no secret. So one day a couple of weeks ago, I had some defrosting in the refrigerator and was looking for a different way to prepare them.

The Source

I adapted this dish from the recipe I found on Food & Wine.

Ingredients

1 tablespoon olive oil
4 chicken thighs
Kosher salt
Freshly ground black pepper
2 ounces smoked ham, sliced into 1/4-inch dice
1 yellow onion, chopped
2 cloves garlic, minced
1 green bell pepper, chopped
1 red bell pepper, chopped
1 14-ounce can whole tomatoes, drained and chopped
1 tablespoon tomato paste
2 cups chicken stock
1 cup long-grain white rice
1 teaspoon fresh chives, minced

Method

1. Sear the chicken: In a large skillet, heat the oil until smoking. Season the chicken with salt and pepper then place in the hot oil over medium-high, in batches if necessary, until browned on both sides, adjusting heat if necessary to prevent burning, approximately 8 minutes per batch. Once browned, remove from pan and set aside, then discard all but 2 tablespoons of the rendered fat.


2. Season the dish: Reduce heat to medium-low. Sweat the ham, onion, and garlic to the pan until the onion starts to soften, approximately 2 minutes. Add both bell peppers and sweat, stirring occasionally until they soften, approximately an additional 3 minutes.


3: Cook the rice, blend the flavors and finish the dish: To the mirepoix, add the tomatoes, tomato paste and stock, then season with salt and pepper. Stir in the rice, add the chicken back to the pan (skin side up), and cover. Simmer it until the chicken and rice are cooked through, approximately 20 to 25 minutes. Garnish with chives and serve.

Successful?

As I looked around, I noticed it is common for this dish to be photographed while still in the pan, but I wanted to take a shot of an individual plate. In retrospect, I regret the decision. While not my most aesthetically pleasing dish, the flavors definitely were and I'll be preparing this dish again.

In other news, I must ask for your pardon for my short absence. I was pretty busy, partially because Mrs. Stuntman celebrated a birthday last week. She wanted to go to Chef Michael Mina's Arcadia in San Jose. I don't do restaurant reviews but I did want to share the dishes we ordered.

Appetizer: Duck Spring Rolls, Ginger Dipping Sauce, Butter Lettuce, Mint


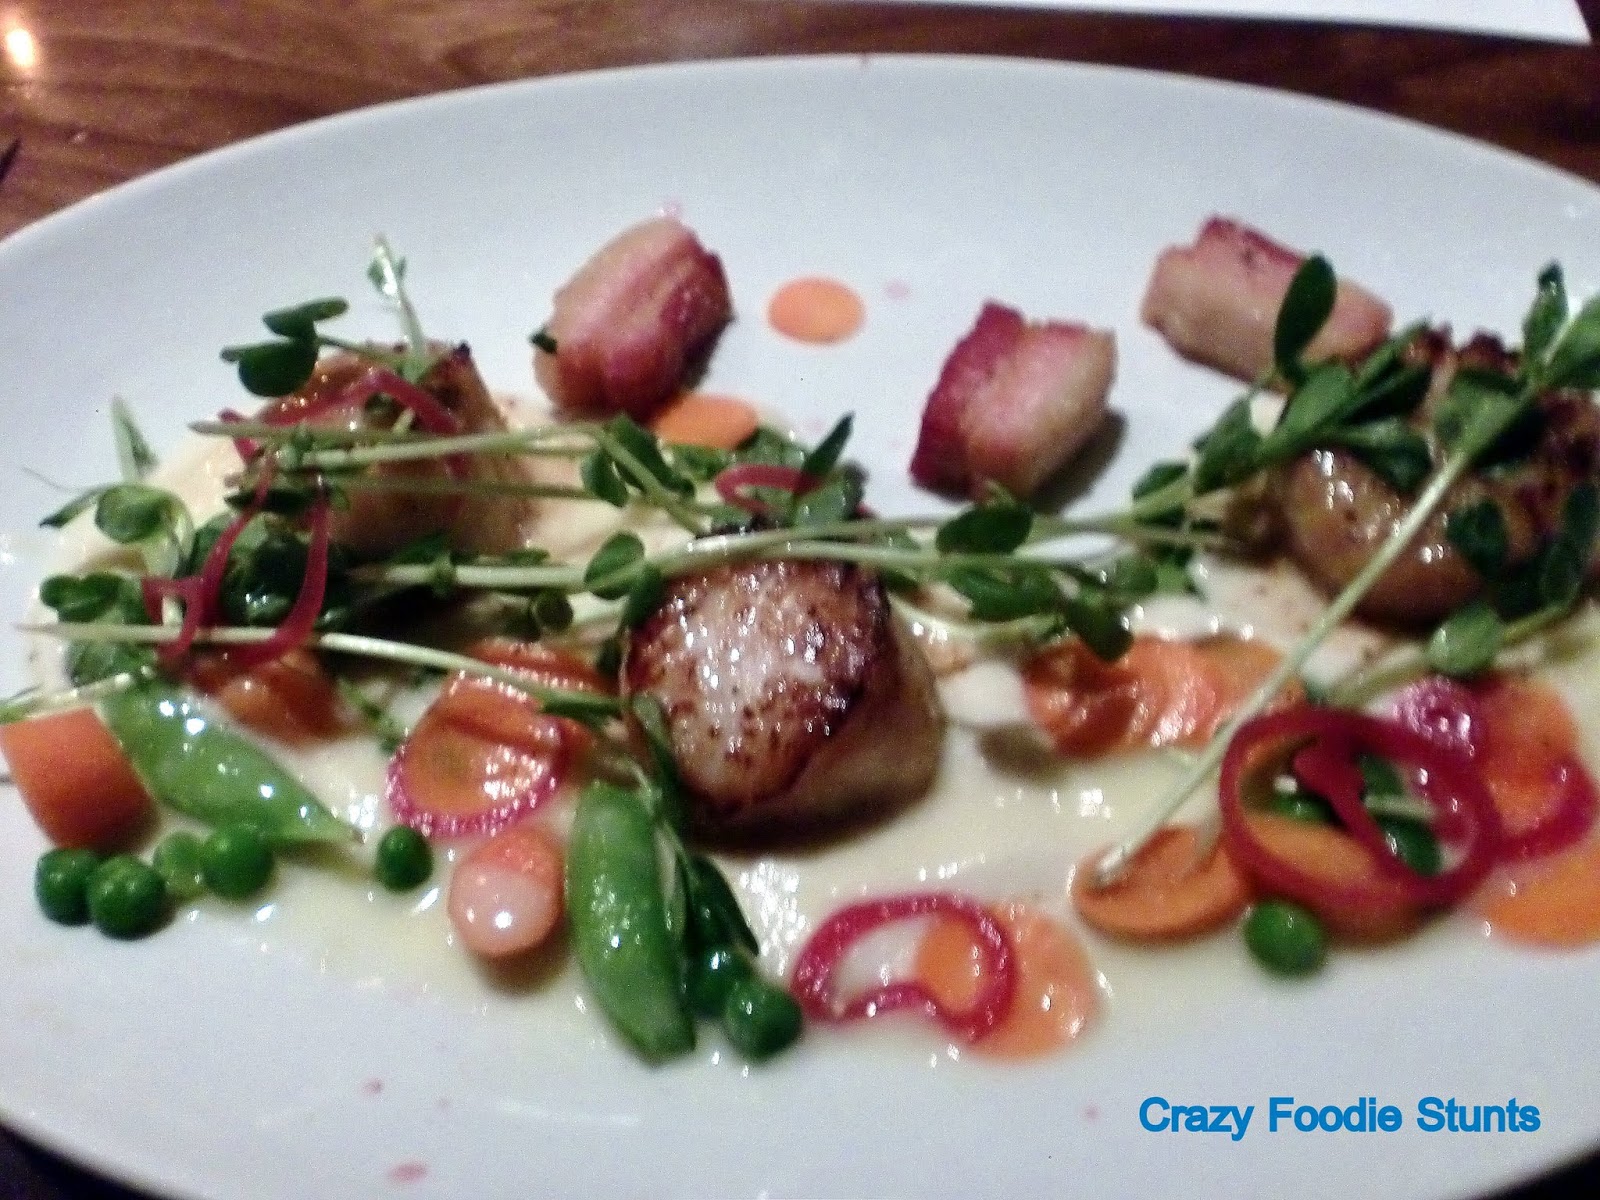
My Entreé: Buzzards Bay Scallops, Pork Belly, Meyer Lemon, Onion Soubise


Mrs. Stuntman's Entreé: Phyllo-Dusted Sole, Dungeness Crab Brandade, Hericot Verts, Dijon


Sunday, May 5, 2013

Shrimp Soft Tacos with Lime Dressing and Crunchy Vegetables for a Cinco de Mayo #SundaySupper

Shrimp Soft Tacos with Lime Dressing and Crunchy Vegetables


I was probably a senior in high school when I was out with some friends on a Saturday afternoon in late April when the discussion of local Cinco de Mayo events arose when (despite three years of Spanish classes and not realizing the literal translation) I asked, when is cinco de mayo?

Not to be confused with Mexico's Independence Day (which is celebrated on September 16th), probably the most historically accurate account surrounding the day I found is on History Channel's website. It is also the theme for this week's #SundaySupper event due to it being so timely.

The Challenge

Quite simply, authenticity. So much of ethnic cuisine has been polluted by American influences, it's sometimes difficult to distinguish between the two.

The Source

I consider Chef Rick Bayless an authority on authentic Mexican cuisine, so I grabbed this recipe from his website.

Ingredients

1 lime, cut in half
1/2 teaspoon coarsely ground black peppercorns
1/4 teaspoon ground allspice
3 bay leaves
12 ounces raw shrimp, 40 to 50 count
1/2 small red onion, cut into 1/4-inch dice
1 ripe medium-small tomato, cored and cut into 1/4-inch dice
5 radishes, finely diced
1 1/2 tablespoons finely chopped fresh cilantro
2 1/2 tablespoons freshly squeezed lime juice
2 1/2 tablespoons olive oil
2 1/2 tablespoons vegetable oil
1 teaspoon salt
Flour tortillas

Method

1. Cook the shrimp: Squeeze the juice from the two lime halves into a medium saucepan, then add the two rinds. Add in 1 quart water, black peppercorns, allspice and bay leaves. Cover and simmer over medium-low heat for 10 minutes. Add the shrimp, recover and raise the heat to high until a bare simmer is reached. Immediately remove the saucepan from heat and drain the fluid. Recover the saucepan and set aside for five to 8 minutes, or until the shrimp are fully cooked through. Shock the shrimp by running cold water over them to stop any further carryover cooking. Peel and devein the shrimp, if necessary and cut the shrimp into 1/22-inch pieces if using medium or large shrimp. Add the shrimp to a bowl and combine with the red onion, radishes, tomatoes and cilantro. Toss to combine.

2. Make the dressing and finish the dish: In a small bowl, whisk together the lime juice, olive oil, vegetable oil, and salt. Pour the dressing over the shrimp and toss to coat. Cover and refrigerate. When ready to serve, add the shrimp mixture to flour tortillas and serve.


Successful?

The weather here locally has been warm this week, so this was light and refreshing. In preparing this dish, I was reminded that Mexican food is very delicious, but often labor intensive. In this case, the mise en place was a marathon. Ultimately, it was tasty and Mrs. Stuntman was happy with it.

¡Feliz Cinco de Mayo!

Other Sunday Supper Participants

And finally, please check out this week's other Sunday Supper contributors:

Cinco de Mayo Appetizers & Sides {Aperitivos}:
Cinco de Mayo Main Dishes {Platos Principales}:
Cinco de Mayo Desserts {Postres}:
Cinco de Mayo Drinks {Bebidas}:

Monday, December 3, 2012

Tra Vigne's Braised Beef Short Ribs

Tre Vigne's Braised Beef Short Ribs


Hello there! Have you forgotten about me? I'm still here but I took the month of November off. I wanted to get better acclimated with my kitchen and I didn't want to add to the noise of conflicting advice on how to prepare a successful Thanksgiving feast.

During my time off I won a giveaway hosted by Kaitlin of I Can Cook That. You might remember I noted her earlier this summer when I won another giveaway she hosted that was sponsored by Buitoni. This time I won Lidia's Favorite Recipes by Lidia Matticchio Bastianich and Tanya Bastianich Manuali. To thank Kaitlin, I'll prepare at least one dish from Chef Bastianich's book which will appear here soon.

Tre Vigne Restaurant is in the Napa Valley region of California which originally opened by Michael Chiarello. Tre Vigna's current menu features a short rib dish but specifies the ribs are smoked, then braised which is different from this recipe.

The Challenge

I looked at dozens of braised beef short rib recipes and all followed a basic operating procedure of searing the ribs, removing the ribs, adding and browning a mirepoix, deglazing and adding the braising fluid along with the ribs, bringing to a simmer and reducing the heat to low to break down the connective tissue that makes the short ribs so tough except one. This recipe separated itself by putting the beef in a brine overnight before cooking which is unusual for beef.

This isn't so much of a challenge as it is a question: Will the brine make a difference in flavor and moisture in a beef dish?

The Source

I took this recipe from epicurious.

Ingredients

1 quart water
1 cup light brown sugar, packed
1 cup Kosher salt
1 bay leaf
5 juniper berries (I didn't have any available.)
4 pounds meaty beef short ribs
1 tablespoon vegetable oil or more if needed
2 medium onions, chopped
1 large carrot, chopped
1 head of garlic, unpeeled and cut in half crosswise
2 cups of beef broth or stock
1 cup of dry red wine
1 cup Sherry vinegar (I used red wine vinegar.)
1 cup canned crushed tomatoes tomato pureé

Method

1. Brine the ribs. Combine water, sugar, salt, and bay leaf in a pot and simmering over medium heat until the sugar and salt are dissolved. Cool the mixture to room temperature. Add the short ribs to the brine and chill covered in the refrigerator for at least four and up to twenty-four hours. Remove short ribs from the brine and pat dry with paper towels. Then discard the brine.


2. Preheat the oven to 325° Fahrehneit. Heat vegetable oil in a heavy ovenproof Dutch oven over medium high heat on top of stove uncovered. Sauté the ribs in batches until browned on all sides, about three minutes per side. Remove ribs to a platter.


3. Add the onions, carrot and garlic head to the pot and cook over medium heat stirring occasionally until vegetables are golden, about eight minutes. Stir in stock, wine, vinegar and tomato pureé, scrapping up any brown bits on the bottom of the pan. Add the ribs back and any juices on the platter to the pot and bring to a simmer.


4. Cover and transfer to the preheated oven. Braise in the oven until meat is tender about two-and-a-half to three hours. Remove ribs from sauce and discard garlic skin, which should have separated from the cloves of garlic. Serve the ribs with the sauce on the side.

Successful?

The recipe author notes that this dish is even better if cooked on Day 2 (if Day 1 is used for preparing the brine), refrigerated overnight in the sauce, reheated and eaten on Day 3 removing any solidified fat before the reheating process.

In all honesty, I'm unsure if the brine made a difference because the vinegar was so overpowering. The ribs were tender and I could hardly keep the meat from falling off the bone. The one endearing quality is Mrs. Stuntman enjoyed it.

Monday, August 6, 2012

Tomatillo Shrimp Ceviche Soft Tacos

Tomatillo Shrimp Ceviche Soft Tacos


Unless it's about the food, I normally don't discuss appearances here but I guess I must address it. I gave this website a face lift. I found Alyx of Every Day is a New Adventure after seeing what she did with April's blog, Ape's Eats & Adventures. I think Alyx does good work and her pricing is reasonable, so if you're considering a redesign, please keep her in mind.

Also, of all the things I thought I'd eat with my blogging experience, I never thought I'd eat my words. Alas, please find and follow me on twitter, or use the social media button on the right side column.

You might remember I referred to April's website from a few months ago when I won a taco set giveaway she hosted, so I thought since April referred me to Alyx, this would present a perfect opportunity to use the items I won in her giveaway.

The items I won would have appeared here sooner, however they were delivered in less than satisfactory condition.


My intent here is not to embarrass April because she made good on her promise. However I have no problems taking shots at the United States Postal Service, especially considering recent cases of postal employees mistreating their packages. The employee who came to my doorstep said it was given to him in that condition. I can only imagine what happened to it along the way.

Ceviche caught my curiosity after seeing it featured frequently by contestants on Top Chef. My interest was further enhanced after I learned the unusual preparation method. The best explanation I could find is on Wikipedia. Essentially, seafood is cooked in citrus juice.

The Challenge

Successfully prepare seafood using a method not common to the United States.

The Source

Adapted from a recipe I found on Valentina's blog, Cooking on the Weekends.

Ingredients

1/2 cup fresh lime juice (from about 3 limes)
2 tablespoons fresh orange juice
3/4-pound fresh shrimp, peeled, deveined, and finely chopped
1/3 cup finely chopped tomatillo (about 1 large tomatillo)
1/3 cup finely chopped tomato, seeds removed (about 1 medium-sized tomato)
1/4 cup finely chopped red onion
1 tablespoon super finely chopped Anaheim pepper, seeds removed
2 tablespoons finely chopped cilantro
Kosher salt and freshly ground black pepper
Olive oil
flour tortillas
Salsa verde

Method

1. "Cook" the shrimp: Combine the first three ingredients in non-reactive (either glass or stainless steel) bowl, cover with plastic wrap, and refrigerate for approximately 2 hours.


2. Season the ceviche: Stir in the vegetables (the tomatillo, tomato, onion, pepper and cilantro) re-cover and refrigerate for an additional hour, or until the shrimp appears completely opaque and slightly pink. Drizzle with a bit of olive oil and season generously to taste with salt and pepper.

3. Warm the tortillas in the microwave oven. Fill them with the ceviche and garnish with the salsa.

Successful?

Although I don't think I'd prepare this dish taco style again, I'd definitely prepare this ceviche again. It's flavorful, colorful, simple and you don't need to heat up your kitchen during warm weather. It's also one of the healthiest dishes I've prepared to date.

One final note regarding my last post. You can view more pictures from the event by Justin Yu Photography here

Friday, May 4, 2012

Steak Fajitas

Steak Fajitas


This recipe is my contribution to Food Network's Mother's Day Communal Table. This isn't something that you would traditionally think of when preparing Mother's Day dishes, but...(and guys, here's a hint so take note) I think you need to customize your dishes to suit the wants of the ladies in your life. For me, my mother, my sister (who's also a mother) and my wife all enjoy Mexican or Tex-Mex dishes, plus they all like to eat on the healthier side. This dish might also fit into any Cinco de Mayo celebrations, however this dish did not originate in Mexico.

Normally, this fajita recipe would be a little too simple for this website, so I have included a Crazy Foodie twist to it but feel free to replace my experiment making food from scratch with store-bought varieties.

The Challenge

Satisfy the wants of three Moms at the same time.

The Sources

This fajita recipe was taken from issue #68 of Saveur Magazine.

Ingredients

3 small yellow onions, peeled and halved lengthwise
3⁄4 cup plus 1 tablesoon vegetable oil
1 tablespoon worcestershire sauce
1⁄4 teaspoon liquid smoke
1 bay leaf
1 1⁄2 teaspoon freshly ground black pepper
Salt
1 2-pound skirt steak, cut into 3" pieces
1 green bell pepper, stemmed, cored, and thickly sliced
1 red bell pepper, stemmed, cored, and thickly sliced
12 scallions, trimmed
1 tomato, cored and quartered
6" homemade or store-bought Flour Tortillas

Method

1. Finely chop 1 of the onion halves and put into a large deep glass or ceramic dish. Add 3⁄4 cup of the oil, worcestershire sauce, liquid smoke, bay leaf, black pepper, and salt to taste and mix well. Add meat to dish and turn in marinade until well coated. Cover dish with plastic wrap and marinate meat in the refrigerator for at least 8 hours and up to 12 hours.


2. After steak has marinated, heat a charcoal grill until coals are hot. Remove meat from dish, discarding marinade. Grill meat over hot coals, turning once, 4–6 minutes for medium rare. (You may also cook meat in a grill pan on the stove over high heat.) Transfer meat to a cutting board and set aside.


3. Thickly slice the remaining 2 onions lengthwise and set aside. Heat the remaining 1 tbsp. oil in a large skillet over medium-high heat until hot but not smoking. Add onions and bell peppers, season to taste with salt, and cook, stirring often, until vegetables are lightly charred but still crunchy, 3–4 minutes.


4. Meanwhile, thinly slice meat against the grain, add to skillet with vegetables, and stir until heated through, 1–2 minutes. Divide fajitas equally among four heated cast-iron fajitas platters or large heated plates; garnish with scallions and tomato wedges. Serve with warm tortillas, if you like.

As I stated above, feel free to skip this part with store bought tortillas, but quick and easy is not my style. For my own twist on this dish, I decided to make homemade flour tortillas using a Rick Bayless recipe.

Ingredients

3/4 pound (2 3/4 cups) all-purpose flour, plus a little extra for rolling the tortillas
5 tablespoons lard or vegetable shortening, or a mixture of the two
3/4 teaspoon salt
about 3/4 cup very warm tap water

Method

1. Combine the flour and fat in a large mixing bowl, working in the fat with your fingers, until completely incorporated. Dissolve the salt in the water, pour about 2/3 cup of it over the dry ingredients and immediately work it in with a fork; the dough will be in large clumps rather than a homogeneous mass. If all the dry ingredients haven't been dampened, add the rest of the liquid (plus a little more, if necessary). Scoop the dough onto your work surface and knead until smooth. It should be medium-stiff consistency -- definitely not firm, but not quite as soft as most bread dough either.

Dough After Wet Ingredients Were Added
Kneaded Dough

2. Divide the dough into 12 portions and roll each into a ball. Set them on a plate, cover with plastic wrap and let rest at least 30 minutes (to make the dough less springy, easier to roll).


3. Heat an ungreased griddle or heavy skillet over medium to medium-high heat. On a lightly floured surface, roll out a portion of the dough into an even 7-inch circle: Flatten a ball of dough, flour it, then roll forward and back across it; rotate a sixth of a turn and roll forward and back again; continue rotating and rolling until you reach a 7-inch circle, lightly flouring the tortilla and work surface from time to time.


Lay the tortilla on the hot griddle (you should hear a faint sizzle and see an almost immediate bubbling across the surface). After 30 to 45 seconds, when there are browned splotches underneath, flip it over. Bake 30 to 45 seconds more, until the other side is browned; don't overbake the tortilla or it will become crisp. Remove and wrap in a cloth napkin placed in a tortilla warmer. Roll and griddle-bake the remaining tortillas in the same manner and stacking them one on top of the other.


Successful?

Yes! In fact, my wife brought leftovers to her office the next day. She shared her lunch with her colleagues who, after tasting the dish, wanted to invite themselves over for dinner.

Be sure to come back on Wednesday, May 9th to view other participants at The Communal Table!

May 9th Update: Food Network has decided to cancel this Communal Table so, unfortunately, there are no other participants to share.

Happy Mother's Day!